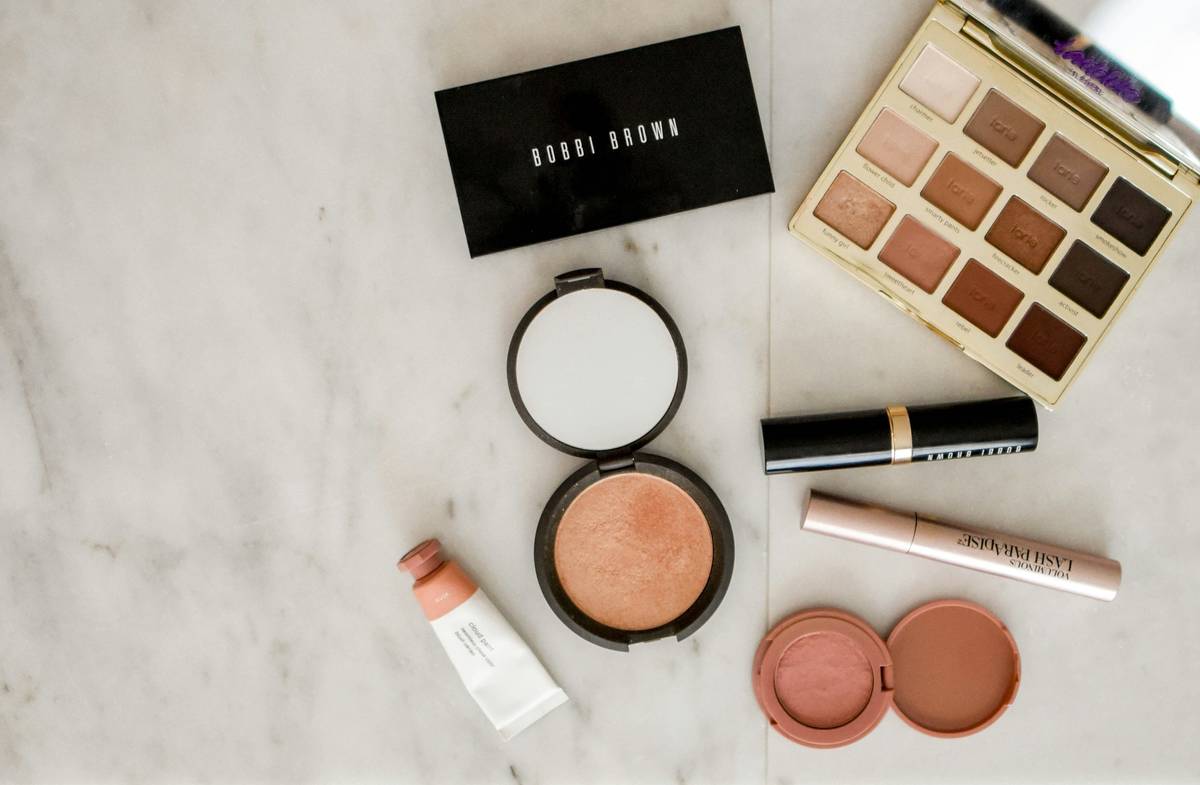
You’ve watched the tutorials. You’ve bought the kits. Yet your highlight and contour still look muddy, flat, or worse—like a Halloween costume. Why? Because most “glam makeup” advice ignores lighting, skin texture, and bone structure. The result? A cakey mess under daylight. Here’s the fix: a precision-driven, light-aware system that sculpts—not masks—your face.
Why Your Current Highlight & Contour Routine Fails
Slathering on bronzer and shimmer isn’t contouring—it’s camouflage. And it collapses under anything but ring-light perfection. The real issue? Most people treat contour like paint-by-numbers: suck in cheeks, swipe brown, dab gold. But facial topography varies wildly. What works for a high-cheekboned model melts into shadows on rounder faces. Worse, powder formulas oxidize or shift by hour two—especially in humidity.
And lighting? Ignored. Apply makeup only in your bathroom mirror, and you’ll look stunning… until you step outside. The math is simple: if your products don’t respond to natural light, they’re decorative—not dimensional.
highlight contour glam how to face: The Step-by-Step System
Forget symmetry. Aim for optical illusion. This method adapts to your unique structure, not Instagram templates.
Map Your Light Zones First
Stand near a window. Observe where light naturally hits: forehead center, cheekbone apex, brow bone, chin tip, nose bridge. These are your natural highlight zones. Never add shimmer where shadow lives—that creates visual noise.
Contour With Temperature—Not Just Color
Cool-toned contours recede; warm ones add warmth without depth. For true sculpting, use a shade with subtle gray or taupe undertones—never orange. Blend upward along the hollows, stopping just before the apple of the cheek. Harsh lines = aged appearance.
Layer Texture Strategically
Cream first, then powder—if needed. Cream mimics skin; powder sets. But oily skin? Skip powder highlight—it dulls radiance. Dry skin? Spray setting mist before powder to avoid patchiness.
| Product Type | Best For | Avoid If… | Blending Tool |
|---|---|---|---|
| Cream Contour Stick | Dry/mature skin, HD photography | Oily T-zone (without primer) | Damp sponge + tapered brush |
| Powder Contour | Oily/combination skin, long wear | Flaky patches or mature skin | Dense angled brush |
| Liquid Highlighter | Dewy finish, mixing with foundation | Large pores (can accentuate) | Fingertips or flat synthetic brush |
| Pressed Powder Highlight | Quick touch-ups, oily skin | Seeking glass-skin effect | Fluffy fan brush |
The Industry Secret: Contour Is Temporary—but Bone Memory Isn’t
Here’s what no brand tells you: your contour should evolve weekly. Why? Because as you lose water weight, gain muscle, or age, your bone-to-fat ratio shifts. A pro trick? Every Sunday morning—before coffee, after skincare—take a bare-faced photo in natural light. Compare it to last month’s. See how your jawline definition softened? Or your temples hollowed? Adjust your contour map accordingly. Makeup isn’t static art. It’s responsive architecture.
Think about it: runway artists tweak placement per model per show. Your face deserves the same respect—not a forever formula.
Frequently Asked Questions
Can I contour without looking dirty or streaky?
Yes—use a cream formula one shade deeper than your skin with neutral undertones. Blend with a damp sponge using upward strokes. Always diffuse edges into hairline and jaw.
Where exactly do I apply highlight for glam—but not glitter?
Focus on anatomical peaks: center forehead, highest point of cheekbones (not apples), inner corners, Cupid’s bow, and chin tip. Skip nose sides—they widen optically.
Should I contour before or after foundation?
Cream contour goes after foundation but before powder. Powder contour works over finished base—but lightly. Over-layering kills dimension.