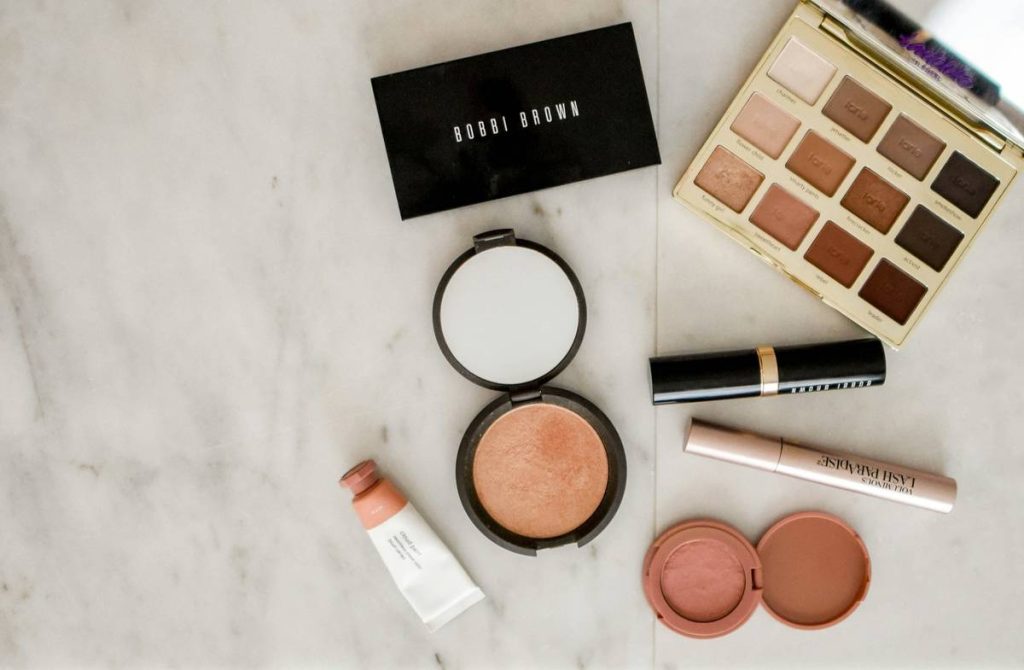
You spent $60 on that viral palette. You watched three 20-minute tutorials. And yet—your cheekbones look muddy, your highlight disappears by noon, and your jawline? Nowhere to be found. The problem isn’t you. It’s the outdated “paint-by-numbers” approach flooding beauty feeds. Here’s a better way. This guide cuts through the noise with pro-level precision, real product logic, and zero filler—so you actually *see* results.
Why Your Current Highlight & Contour Routine Fails
Most guides treat contour like a crayon—draw lines, blend, done. That’s why your face ends up looking shadowy instead of sculpted. Lighting changes everything. And if you’re using one shade for all skin tones or ignoring your bone structure? You’re working against physics—not with it.
Matte bronzers drag across dry patches. Cream formulas oxidize into orange streaks. Powder highlights vanish under flash photography. These aren’t user errors—they’re product-skill mismatches. Stop blaming your brush. Start matching formula to function.
highlight contour glam how to apply: A Step-by-Step Blueprint
Forget “nose lines” and “forehead X’s.” Real glam makeup enhances what’s already there. Not every face needs heavy contour. Some just need strategic light. Know your goal first: definition or drama?
Step 1: Prep Like a Pro—Not a Passenger
Ditch the dewy primer if you’re oily. Skip the matte base if you’re dry. Your canvas must support your formula. Apply skincare, let it absorb, then use a satin-finish primer only where needed—T-zone for shine control, cheeks for grip.
Step 2: Map With Light—Not Lines
Stand near a window. Where does natural light hit? Those are your highlight zones: tops of cheekbones, brow bone, cupid’s bow, inner corners. Where does shadow naturally fall? Jawline, under cheekbones, sides of nose—that’s contour territory. Trace these areas *lightly* with a pencil brush—don’t commit yet.
Step 3: Choose Formula Based on Finish (Not Hype)
Creams melt into skin—ideal for dry types or soft-focus glam. Powders offer control and longevity—best for oily skin or sharp editorial looks. But here’s the kicker: layer them. Cream first for dimension, powder over for hold. Yes, really.
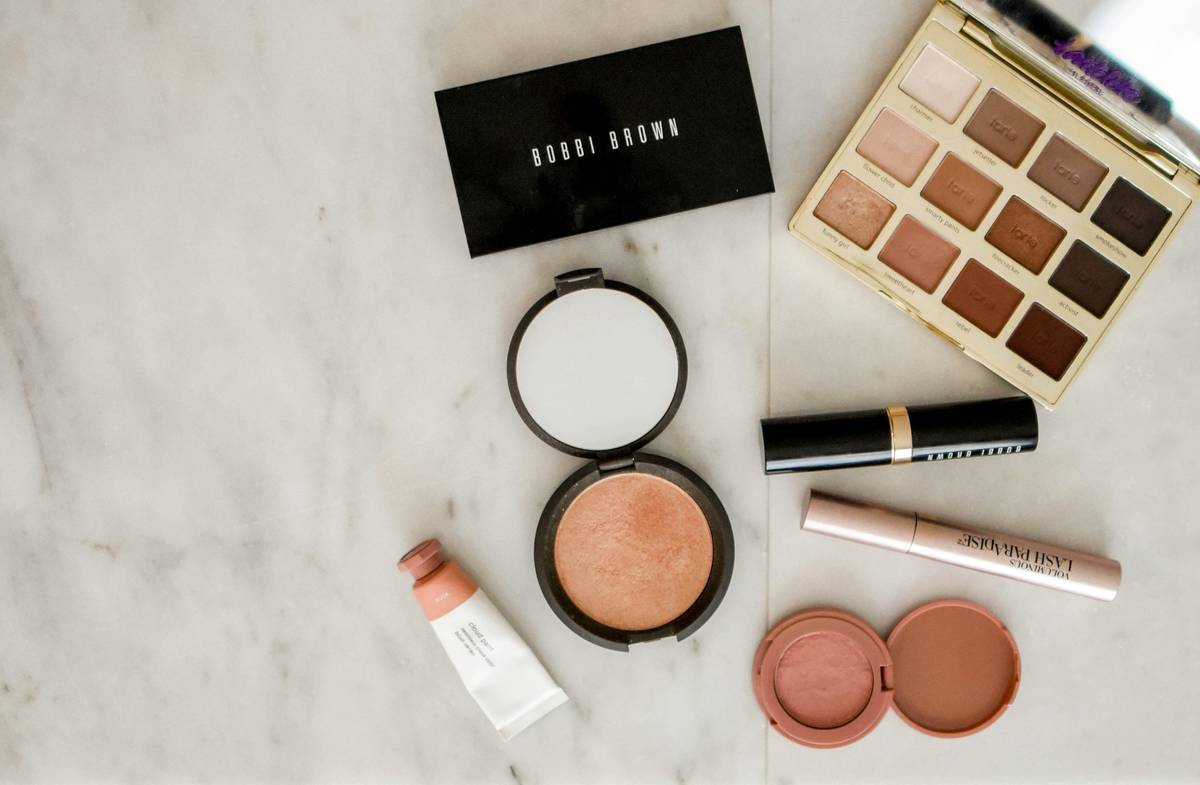
Product & Technique Comparison
| Formula Type | Best For | Application Tool | Longevity | Glam Impact |
|---|---|---|---|---|
| Cream Contour | Dry/mature skin, natural finish | Dense synthetic brush or sponge | 4–6 hours (needs setting) | Soft, blended depth |
| Powder Contour | Oily/combination skin, high-definition looks | Angled fluffy brush | 8+ hours | Sharp, photo-ready structure |
| Liquid Highlight | Dewy skin lovers, no-makeup makeup | Fingertips or damp sponge | 5–7 hours | Skin-like radiance |
| Pigmented Powder Highlight | Night events, flash photography | Small tapered brush | 10+ hours | Intense spotlight effect |
Step 4: Blend Toward the Light—Always
Never swirl in circles. Blend upward and outward along the direction of sunlight. For contour: start deep, diffuse toward the hairline. For highlight: press, don’t swipe—it locks pigment into place.
The Industry Secret: Contour Is About Temperature, Not Just Depth
Here’s what no tutorial tells you: cool-toned contour reads as shadow; warm-toned reads as tan. If your “contour” makes you look sun-kissed instead of chiseled, you’re using bronzer—wrong tool, wrong result. True contour should mimic natural shadow: slightly ashy, never orange. Pro trick? Mix a touch of gray-based concealer into your cream contour to neutralize warmth instantly. It’s how editorial artists fake bone structure without looking painted.
And lighting matters more than product. Test your look under *three* light sources: daylight, indoor LED, and phone flash. If it disappears or turns muddy in any, rework the ratio—not the application.
Frequently Asked Questions
Can I contour without looking cakey?
Yes—if you skip heavy powders on bare skin. Use a sheer cream formula and set only where needed with translucent powder. Less is more.
Where exactly do I apply highlight for lifted cheeks?
Follow the top edge of your cheekbone from ear to pupil—then stop. Extending past the outer eye drags the face down.
Do I contour before or after foundation?
After. Foundation evens the canvas. Contour on top sculpts. Setting both together locks dimension without muddying layers.